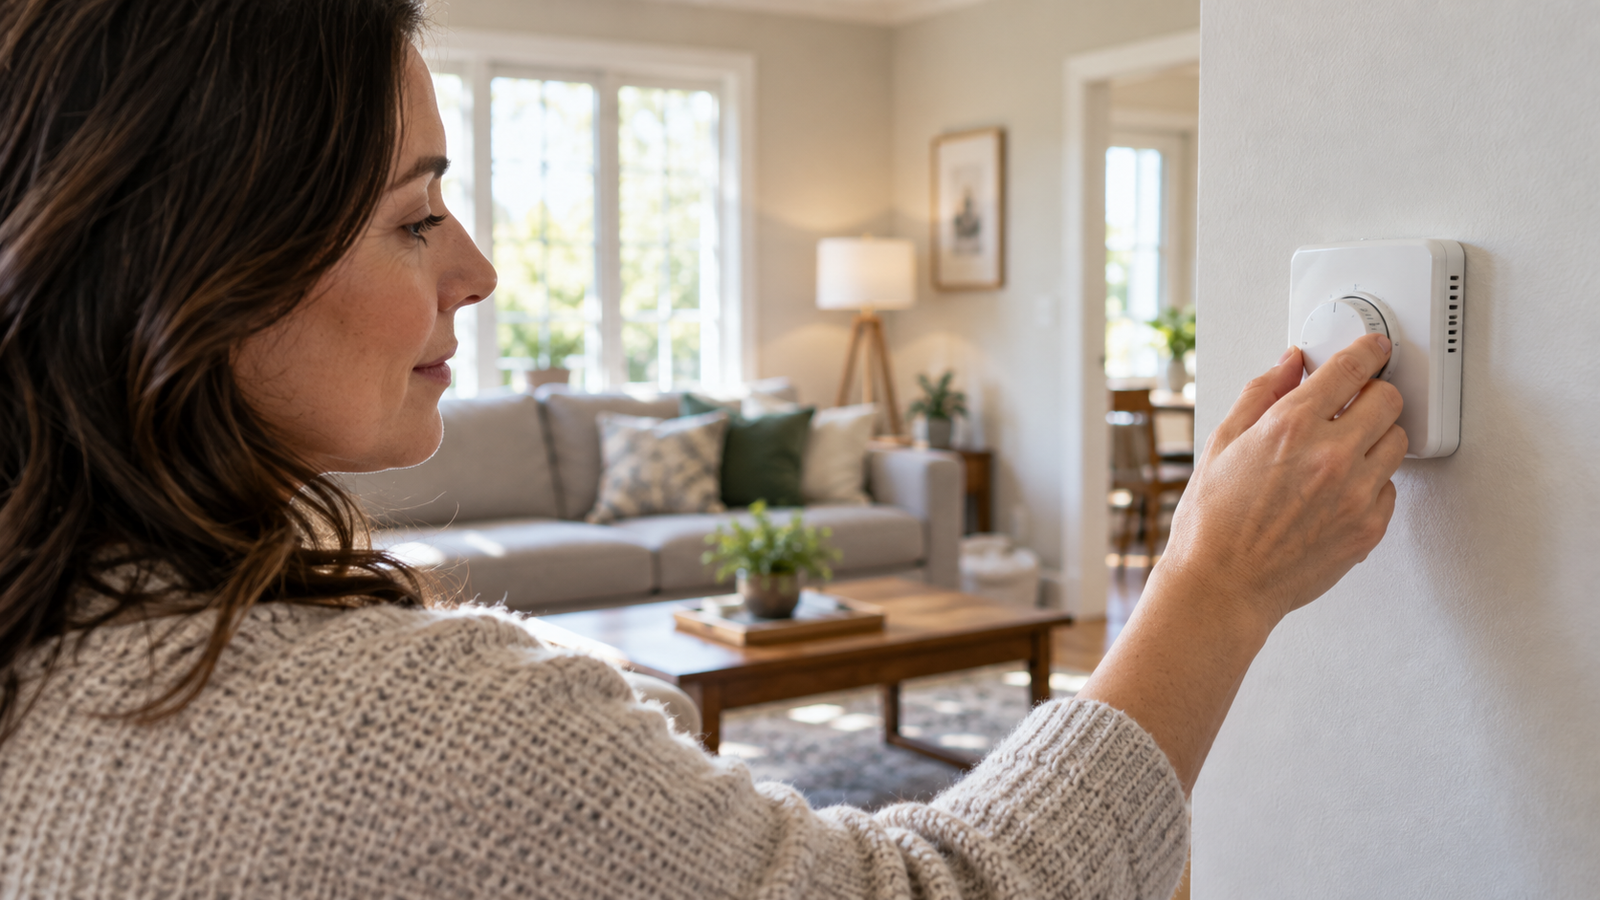
Quick answer: Check your HVAC filter every month and replace it when it is visibly dirty, restricted, or beyond the interval listed by the manufacturer. Homes with pets, construction dust, or allergy concerns may need more frequent checks.
Why the filter matters
A loaded filter can restrict airflow and make the system work harder. It can also reduce comfort and make it harder to keep rooms at the thermostat setting.
What to check
Confirm the filter size printed on the frame.
Check airflow direction before installing the replacement.
Record the installation date.
Watch for unusual noise, weak airflow, or repeated system cycling.
Costs, maintenance intervals, and energy use vary by home, equipment, climate, and local service rates. Use this guide as a practical starting point, then check the manufacturer’s instructions and your local utility information.
When to call an HVAC technician
Contact a licensed technician for refrigerant, electrical, burning smells, water around the unit, or a system that repeatedly shuts down.
Quick Answer: Start with a comfortable setting, then make small schedule changes that match your HVAC system and household. A large setback can be counterproductive for some heat pumps. The examples below are illustrative starting points—not universal federal recommendations.
Key Takeaways
Use °F settings that fit health needs, humidity, equipment, and climate.
Separate heating-and-cooling cost from the total utility bill when estimating savings.
Check heat-pump, auxiliary-heat, staging, and C-wire compatibility before replacing a thermostat.
Stop DIY checks when gas, carbon monoxide, exposed wiring, refrigerant, or control-board work is involved.
Example Thermostat Settings for Different U.S. Households
Home situation
HVAC system
Example home setting
Example away setting
Adjustment considerations
Safety notes
Winter, typical occupied home
Gas furnace
68°F heating
60–64°F heating
Change gradually and track recovery time
Protect pipes and occupants with special health needs
Summer cooling
Central AC
76–78°F cooling
80–82°F cooling
Humidity may require a smaller change
Do not let indoor heat become unsafe
Heat-pump home
Air-source heat pump
Comfort setting
Small setback, often 2–4°F
Large recovery may trigger auxiliary heat
Follow equipment and thermostat guidance
Workday vacancy
Furnace + AC
68°F heat / 78°F cool
62°F heat / 82°F cool
Account for pets, plants, and humidity
Never override freeze or heat protection
Work from home
Any compatible system
Comfort-based
Minimal daytime setback
Use room-level airflow checks before extreme settings
Space heaters add separate risks
Pets at home
Any
Pet-safe range from veterinarian guidance
Small adjustment
Species, age, coat, and health matter
Do not use a universal pet temperature
Long trip
Any
Not occupied
Freeze/humidity protection
Climate and home envelope control the setting
Arrange monitoring in extreme weather
These are ILLUSTRATIVE scenarios. Florida humidity, Arizona heat, Minnesota freeze risk, Texas cooling loads, and New York seasonal transitions can require different settings.
How Much Could Thermostat Changes Save?
If annual heating-and-cooling cost is $1,500, a 5% illustrative reduction equals $75 per year ($6.25 per month). A 10% illustrative reduction equals $150 per year ($12.50 per month). These calculations do not predict an individual home’s savings.
This calculator uses only your inputs. It is not an energy audit or a guaranteed savings estimate.
Heat Pump vs. Conventional HVAC: Why Scheduling Differs
System
Response to schedule changes
What to check
Gas furnace
Often recovers quickly, but capacity and ducts matter
Cycle length, airflow, safe venting
Central AC
Large afternoon recovery can coincide with peak heat
Humidity, filter, coil and airflow condition
Air-source heat pump
Large winter setbacks may trigger auxiliary heat
Balance point, lockout settings, compatible thermostat
Dual-fuel
Controls decide when heat pump or furnace operates
Professional setup and manufacturer instructions
Auxiliary heat is backup heat that controls may call automatically. Emergency heat is a manual mode intended for specific equipment failures; it is not a normal efficiency setting. Do not disable safety controls or change installer settings without qualified guidance. Adaptive recovery can start early so the home reaches the scheduled temperature on time, but support varies by model.
Before Buying a Smart Thermostat
Identify furnace, central AC, air-source heat pump, dual-fuel, boiler, or other equipment.
Use the manufacturer’s compatibility checker for C-wire, heat-pump, auxiliary heat, multi-stage, and zoned-system support.
Confirm the equipment voltage. Most smart thermostats are not designed for line-voltage baseboard systems.
A missing C-wire does not automatically rule out every model; approved adapters and power options differ.
Renters should obtain required landlord approval before changing wiring or installed equipment.
Turn off power before any permitted installation. Use a qualified technician for uncertain wiring, controls, or high-voltage equipment.
Thermostat Troubleshooting: What to Check First
Symptom
Possible causes
Safe homeowner checks
When to call a professional
Screen is blank
Power, batteries, drain safety switch
Replace approved batteries; check normal breaker position once
Compare with a reliable room thermometer away from vents
Large persistent difference
One room is warmer
Airflow, insulation, duct issue
Check open registers and blocked returns
Suspected duct leakage or balancing need
HVAC runs continuously
Extreme weather, dirty filter, undersizing, fault
Check filter and realistic setpoint
No temperature progress or unusual sound/smell
Cannot connect to Wi-Fi
Band, signal, app or account
Follow manufacturer network steps
Control operation is affected beyond Wi-Fi features
Regional and Household Considerations
Florida homes often need humidity control as much as temperature control. Arizona homes may face long high-load cooling periods. Texas conditions vary widely by region and utility territory. Minnesota homes need freeze protection and careful heat-pump backup planning. New York homes may switch between heating and cooling during shoulder seasons. These are general climate examples, not statewide setpoints.
When to Call a Professional
Leave refrigerant, gas, combustion, high-voltage wiring, control boards, and equipment safety settings to qualified professionals. If you smell gas or a carbon-monoxide alarm sounds, leave the building and follow local emergency and utility guidance rather than troubleshooting the thermostat.
Homeowner and Renter Notes
Homeowners can usually replace batteries, review schedules, change a suitable filter, and check unobstructed registers. Renters should document the symptom, perform only lease-permitted checks, and contact the landlord or property manager before altering installed controls.
Rebates and Current Incentives
Use the ENERGY STAR Rebate Finder with a ZIP Code for current state or utility programs. A federal tax credit, state rebate, and utility rebate are different programs. Do not rely on an older DOE page as proof that an incentive still applies. IRS eligibility, placed-in-service dates, and current law must be checked immediately before purchase.
Quick answer: For many U.S. homes, keeping indoor relative humidity below 60% and ideally around 30% to 50% is a practical starting point. The U.S. Environmental Protection Agency uses that range to help limit excess moisture, but the best setting can change with outdoor temperature, climate, window performance, and your HVAC system.
Key takeaways
Condensation, musty odors, and damp rooms can be signs to investigate moisture.
Air conditioning can remove some moisture, but leaks and poor ventilation can also drive humidity problems.
Very dry air can be uncomfortable too; avoid treating one setting as perfect for every home.
Persistent moisture needs a cause-specific fix, not just a new device.
What Is Indoor Relative Humidity?
Relative humidity (RH) describes how much moisture is in the air compared with how much it could hold at that temperature. A small hygrometer can help you compare rooms, but a number by itself does not diagnose an HVAC problem.
Check readings in living areas as well as places that often hold moisture, such as a basement, bathroom, or crawl space. Temperature, sun exposure, cooking, showers, and outdoor weather can make one room read differently from another.
What Is a Good Indoor Humidity Level?
Indoor RH
What it can suggest
Below about 30%
Air may feel uncomfortably dry for some households.
About 30%–50%
A common EPA practical range when conditions allow.
50%–60%
Watch for moisture or condensation, especially in cooler rooms.
Above 60%
Review moisture sources and ventilation; prolonged dampness needs attention.
The EPA advises keeping indoor RH below 60%, ideally between 30% and 50% when possible. In a cold winter climate, a setting that is comfortable in mild weather can still create condensation on cold glass, so lower humidity may be appropriate if windows stay wet.
Window condensation can be a useful clue to review indoor moisture, ventilation, and outdoor conditions.
Why Are My Windows Wet in Winter?
Window condensation occurs when warm, moist indoor air meets a cold surface. It can be a clue that indoor moisture is high, but it can also reflect outdoor temperature, glass insulation, air leaks, and limited ventilation.
Wipe up recurring water, look for the source, and avoid assuming the HVAC system is automatically at fault. Repeated water on frames, walls, or sills deserves prompt attention.
Season and Climate Change the Strategy
In the Upper Midwest and Northeast, cold windows can make condensation show up sooner in winter. In Florida, the Gulf Coast, and other humid climates, longer periods of high outdoor moisture can make cooling and ventilation more important.
Homes in the Southwest may notice dry indoor air more often, while the Pacific Northwest can make ventilation and damp spaces more important. These are common patterns, not rules for every house; construction and local weather matter.
Signs Your Home May Be Too Humid
Condensation on windows or cold surfaces
Musty odors or rooms that feel persistently damp
Moisture that lingers after a shower or cooking
Visible mildew or dampness in a basement or crawl space
Water stains, leaks, or wet areas around equipment
One sign alone does not diagnose an HVAC problem. The EPA recommends addressing the moisture source promptly because simply lowering humidity does not remove an existing mold problem.
Signs the Air May Be Too Dry
Very dry indoor air can contribute to static electricity, dry-feeling skin or throat, and discomfort. Some wood materials can also react to changing moisture levels. A humidifier may help in some homes, but use and cleaning instructions vary by model and overly high settings can create condensation.
How Your HVAC System Affects Humidity
Central air conditioning and heat pumps remove some moisture while cooling, but how much depends on equipment sizing, run time, airflow, controls, and local climate. An AC system that runs does not prove it is handling every moisture source in the house.
A dirty filter can affect airflow and system performance, but replacing a filter is not a complete solution for an indoor humidity problem. For the filter itself, see our HVAC Filter Types guide.
What You Can Check Yourself
Use a hygrometer and compare more than one room.
Look for window condensation, plumbing leaks, roof-water entry, and damp basement or crawl-space areas.
Run bathroom exhaust fans and use a kitchen range hood that vents outdoors when available.
Confirm that the clothes dryer vents outdoors and that its exhaust path is maintained safely.
Check visible AC condensate drainage and water around HVAC equipment without opening electrical or refrigerant panels.
Follow your humidifier or dehumidifier manufacturer instructions for use and cleaning.
When a Humidifier or Dehumidifier May Help
A humidifier can be useful when indoor air is excessively dry, while a dehumidifier can help with persistently high RH in a basement or humid climate. Before buying equipment, check for leaks, moisture entry, ventilation problems, and HVAC operating issues.
Do not use a device to mask active water intrusion. The EPA recommends source control, drying wet materials, and proper ventilation as part of moisture control.
When to Call a Professional
Contact an HVAC technician if cooling runs but indoor humidity stays high, the system short-cycles, condensate drainage fails, water collects near HVAC equipment, or a whole-home humidifier or dehumidifier malfunctions. Contact a plumber, roofer, or building professional for plumbing leaks, roof entry, wall moisture, or foundation and basement water.
Do not open sealed equipment, modify wiring, or attempt refrigerant work yourself. Renters should report leaks and equipment issues to the landlord or property manager according to the lease and local process.
Frequently Asked Questions
Is 60% humidity too high indoors?
Above 60% is a signal to look for moisture sources and ventilation issues, especially if the reading persists. The EPA advises keeping indoor RH below 60% and ideally around 30% to 50% when conditions allow.
Does air conditioning lower humidity?
Cooling equipment can remove some moisture as it runs, but the result depends on equipment, settings, run time, climate, and other moisture sources in the home.
Why is my house humid even when the AC is running?
Possible contributors include outdoor humidity, a leak, poor exhaust ventilation, condensate trouble, or an HVAC control or sizing issue. Compare rooms and look for visible moisture before assuming one cause.
Can a dirty HVAC filter cause high humidity?
A restricted filter can affect airflow, but it is not a complete explanation for a humidity problem. Check the filter as part of routine HVAC maintenance and investigate moisture sources separately.
HomeLiving reviews homeowner guidance against U.S. government and recognized industry sources. Recommendations can vary by climate, home construction, and HVAC equipment.
Quick answer: Check your HVAC filter every month and replace it when it is visibly dirty, restricted, or beyond the interval listed by the manufacturer. Homes with pets, construction dust, or allergy concerns may need more frequent checks.
Why the filter matters
A loaded filter can restrict airflow and make the system work harder. It can also reduce comfort and make it harder to keep rooms at the thermostat setting.
What to check
Visual guide: use the steps and safety notes in this section.
Confirm the filter size printed on the frame.
Check airflow direction before installing the replacement.
Record the installation date.
Watch for unusual noise, weak airflow, or repeated system cycling.
Costs, maintenance intervals, and energy use vary by home, equipment, climate, and local service rates. Use this guide as a practical starting point, then check the manufacturer’s instructions and your local utility information.
When to call an HVAC technician
Contact a licensed technician for refrigerant, electrical, burning smells, water around the unit, or a system that repeatedly shuts down.
Quick answer: Check your HVAC filter every month and replace it when it is visibly dirty, restricted, or beyond the interval listed by the manufacturer. Homes with pets, construction dust, or allergy concerns may need more frequent checks.
Why the filter matters
A loaded filter can restrict airflow and make the system work harder. It can also reduce comfort and make it harder to keep rooms at the thermostat setting.
What to check
Confirm the filter size printed on the frame.
Check airflow direction before installing the replacement.
Record the installation date.
Watch for unusual noise, weak airflow, or repeated system cycling.
Costs, maintenance intervals, and energy use vary by home, equipment, climate, and local service rates. Use this guide as a practical starting point, then check the manufacturer’s instructions and your local utility information.
When to call an HVAC technician
Contact a licensed technician for refrigerant, electrical, burning smells, water around the unit, or a system that repeatedly shuts down.
Quick answer: Check your HVAC filter every month and replace it when it is visibly dirty, restricted, or beyond the interval listed by the manufacturer. Homes with pets, construction dust, or allergy concerns may need more frequent checks.
Why the filter matters
A loaded filter can restrict airflow and make the system work harder. It can also reduce comfort and make it harder to keep rooms at the thermostat setting.
What to check
Visual guide: use the steps and safety notes in this section.
Confirm the filter size printed on the frame.
Check airflow direction before installing the replacement.
Record the installation date.
Watch for unusual noise, weak airflow, or repeated system cycling.
Costs, maintenance intervals, and energy use vary by home, equipment, climate, and local service rates. Use this guide as a practical starting point, then check the manufacturer’s instructions and your local utility information.
When to call an HVAC technician
Contact a licensed technician for refrigerant, electrical, burning smells, water around the unit, or a system that repeatedly shuts down.
Quick answer: Check your HVAC filter every month and replace it when it is visibly dirty, restricted, or beyond the interval listed by the manufacturer. Homes with pets, construction dust, or allergy concerns may need more frequent checks.
Why the filter matters
A loaded filter can restrict airflow and make the system work harder. It can also reduce comfort and make it harder to keep rooms at the thermostat setting.
What to check
Visual guide: use the steps and safety notes in this section.
Confirm the filter size printed on the frame.
Check airflow direction before installing the replacement.
Record the installation date.
Watch for unusual noise, weak airflow, or repeated system cycling.
Costs, maintenance intervals, and energy use vary by home, equipment, climate, and local service rates. Use this guide as a practical starting point, then check the manufacturer’s instructions and your local utility information.
When to call an HVAC technician
Contact a licensed technician for refrigerant, electrical, burning smells, water around the unit, or a system that repeatedly shuts down.
Quick answer: If one room feels stuffy, a vent has weak airflow, or the system runs longer than usual, start with the checks you can do safely: make sure supply registers and return grilles are clear, inspect the filter and its fit, and note which rooms are affected. Do not open the equipment cabinet, handle electrical parts, or work on refrigerant lines. Persistent airflow problems need an HVAC professional.
Start simple: A blocked return, closed register, or loaded filter can reduce comfort.
Look for a pattern: One room, one floor, or the whole house can point to different next steps.
Know the limit: Burning smells, ice, water around equipment, electrical issues, or gas odors are not DIY checks.
What an airflow problem can feel like
Airflow trouble does not always mean the HVAC system has failed. It may show up as a bedroom that never reaches the thermostat setting, a supply vent that feels much weaker than nearby vents, or a return grille that seems blocked by furniture or a thick layer of dust. Note whether the problem happens during cooling, heating, or both.
What you notice
Safe first check
When to stop and call
One room is warmer or cooler than the rest
Confirm its register is open and not covered; compare it with another room.
The difference continues after basic checks or several rooms are affected.
Weak airflow at several vents
Check the filter size, direction arrow, and whether it is visibly loaded.
Airflow remains weak after a correct filter change or the system cycles repeatedly.
Return grille is dusty or blocked
Move furniture, rugs, or storage away; vacuum the exterior grille gently.
The grille is damaged, the system is noisy, or you see moisture around equipment.
Safe homeowner checks, in order
1. Check registers and return grilles
Supply registers deliver conditioned air. Return grilles pull household air back to the system. Keep both clear of furniture, curtains, boxes, and rugs. Do not close multiple registers to force air into another room; that can create pressure and comfort problems rather than solve them.
2. Inspect the HVAC filter
Follow the manufacturer’s instructions for your equipment and filter. The U.S. Environmental Protection Agency notes that filters need regular replacement and that an overloaded filter does not work effectively. Check that the replacement matches the size printed on the existing frame and that its airflow arrow points in the required direction. A higher-efficiency filter is not automatically a better choice if the system cannot accommodate it; ask a technician before changing the filter rating.
3. Compare rooms and write down the pattern
Make a short note: which room is affected, whether the door is usually closed, whether the issue occurs in heating or cooling mode, and whether it started suddenly. This turns a vague comfort complaint into useful information for a service visit.
4. Look only at visible duct and outdoor-unit conditions
If accessible without moving panels or insulation, look for obviously crushed flexible duct, disconnected-looking joints, or a supply boot that has pulled away from a vent opening. ENERGY STAR lists visible duct damage, kinks, loose supply boots, and missing insulation among issues worth identifying. Do not enter an attic or crawl space if it is unsafe, and do not tape, reconnect, or modify ductwork unless you know the work is appropriate for your home.
What not to do
Do not remove access panels or touch wiring, capacitors, burners, or refrigerant components.
Do not use candles, smoke, or other combustion sources to test airflow.
Do not block a return grille to reduce noise.
Do not assume a bigger filter rating will solve weak airflow.
When a licensed HVAC technician is the right next step
Schedule professional service if the system repeatedly shuts off, a room stays uncomfortable after the simple checks, or you notice unusual noise, water around indoor equipment, ice, a burning smell, or a gas odor. If you have fuel-burning equipment, do not make duct-sealing or combustion-air changes on your own. ENERGY STAR warns that air-sealing work can affect combustion safety and may require professional testing.
Renters and homeowners: the next move is different
Renters can document the affected room, dates, thermostat setting, and safe checks already completed, then send that information to the property manager. Homeowners can use the same notes when requesting service and can ask the technician to explain whether the cause is a filter, return path, duct issue, equipment setting, or a room-specific problem. Local codes and lease responsibilities vary, so do not make building-system modifications without the appropriate approval.
Five-minute checklist
□ Open and clear every affected supply register and return grille.
□ Check the filter’s size, fit, direction arrow, and condition.
□ Compare airflow in the affected room with a nearby room.
□ Record when the issue occurs and whether it is heating, cooling, or both.
□ Call a licensed technician for safety signs or a problem that persists.
Quick answer: A clothes dryer��s electricity cost depends on the dryer, cycle, load, and local utility rate. As an example, a dryer that uses 4 kWh per load costs about $0.69 per load at the 2025 U.S. residential average rate of 17.30 cents per kWh.
This is an example calculation, not a universal average. Check your utility bill and the appliance information for a more precise estimate.
How to calculate the cost
Electricity cost = kWh used �� electricity rate
At 4 kWh and $0.173 per kWh: 4 �� $0.173 = $0.692, or about $0.69 per load. Twelve loads per month would cost about $8.28 at the same rate.
What changes dryer electricity use?
Load size and fabric type
Cycle length and heat setting
How much water the washer removes
Dryer age and efficiency
Lint buildup or restricted vent airflow
Your local electricity rate
Ways to reduce the cost
Use a high-spin washer cycle.
Avoid overloading the drum.
Use sensor-dry or lower-heat settings when appropriate.
Clean the lint filter after every load.
Inspect the vent if drying suddenly takes longer.
ENERGY STAR uses Combined Energy Factor (CEF) to compare dryer efficiency. Its guidance also highlights moisture sensors, lower-energy cycles, and regular lint-filter cleaning.
Why your local rate matters
The U.S. Energy Information Administration reported a 2025 average residential electricity price of 17.30 cents per kWh, but rates vary widely by state and utility provider. Replace $0.173 in the example with the rate on your bill.
When to call a professional
Stop using the dryer and contact a qualified appliance or dryer-vent professional if it overheats, smells like burning, has poor airflow, leaves clothes damp after normal cycles, or repeatedly trips a breaker.
Bottom line
The most reliable estimate comes from your dryer��s actual kWh use and local electricity rate. The 4 kWh example is about $0.69 per load at the cited U.S. average rate.